Affiliate Disclosure: Some of the links in this post are affiliate links. As an Amazon Associate, we earn from qualifying purchases. Read more in our affiliate policy.
How to Make A Gymnastics Bar At Home – The DIY Way
Welcome to our new post, this time we’re going to answer the question on how to make a gymnastics bar at home.
Practicing gymnastics at home is convenient and time-efficient for both newbies and seasoned athletes. However, ready-made gymnastic bars can cost close to a thousand dollars – an investment not everybody can make.
Well, if this applies to you, then consider making a DIY gymnastics bar!
Homemade Gymnastics Bars – Are They Easy To Make?
Homemade gymnastics bars won’t be as sturdy, convenient, and functional as commercially-made bars, but they will allow you to practice some simpler movements in the comfort of your home.
Plus, DIY bars are pretty easy to make!
With that, read on to find out how to make a gymnastics bar at home!
DIY Gymnastics Bar – Materials You’ll Need
For your DIY gymnastic bar project, you will need the following materials:
- Two 12 feet 2x4s.
- Three 8 feet 2x4s.
- One 10 feet 2×4.
- One 4 feet long and 3/4 inches thick bar, either from wood or steel. If going for a steel bar, make sure that it is threaded on the ends.
- Wood glue.
- 2.5- and 3-inch wood screws.
- Steel washers.
- Optional: If you will be using a metal length bar, then also find two 4 inches long threaded pipes, four 3/4-inch couplers (also known as bushings), and steel washers.
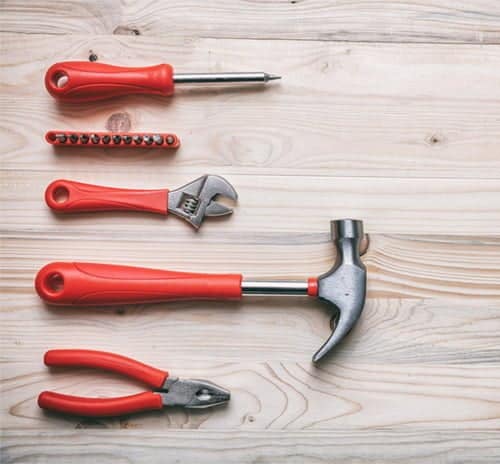
As for tools, you will need:
- Saw, preferably a miter saw along with a table/circular saw.
- Hole saw.
- Screwdriver or cordless drill with drive and hole saw bits.
- Wrench.
If you don’t have tools, you should be able to rent them from a local tool rental service.
What kind of wood to choose for a DIY gymnastics bar
DIY gymnastic bars are typically made from wood. This is because wood is easy to find and isn’t too expensive.
Modern competition bars are typically made from a hollow fiberglass core encased in wood veneer. This combination of materials allows the bar to be strong yet flexible.
Unless you have a high budget, you will not be able to afford to make a competition-grade gymnastics bar. Besides, if you have the budget, then it might be worth it to go straight for commercially available gymnastics bars.
But if you don’t have the money for a quality gymnastics bar, then you are probably stuck with wood as your main material.
But which wood to choose?
Here are a few strong wood species that you may consider for your project:
| Wood | Bending strength, psi | Stiffness, Mpsi | Hardness, lbs. |
|---|---|---|---|
| Birch, yellow | 16,600 | 2.01 | 1,260 |
| Ash | 15,000 | 1.74 | 1,320 |
| Maple, hard | 15,800 | 1.83 | 1,450 |
| Oak, red | 14,300 | 1.82 | 1,290 |
| Oak, white | 15,200 | 1.78 | 1,360 |
| Pine, yellow | 14,500 | 1.98 | 870 |
| Teak | 14,600 | 1.55 | 1,000 |
| Walnut | 14,600 | 1.68 | 1,010 |
| Cherry | 12,300 | 1.49 | 950 |
Here’s what the listed characteristics mean:
- Bending strength. This is the pressure that the wood can withstand under load perpendicular (across) the grain. The higher bending strength is, the stronger the wood is.
- Stiffness. This is the amount of pressure that the wood can take perpendicular to its grain before flexing. The higher this number, the stiffer the wood. A gymnastics bar should ideally be made from more flexible wood.
- Hardness. Hardness shows how much force the wood can take without damage.
The source of these numbers provided some other specs and some other wood species, but we didn’t include those because they don’t really matter for this post. You may check them out if you wish.
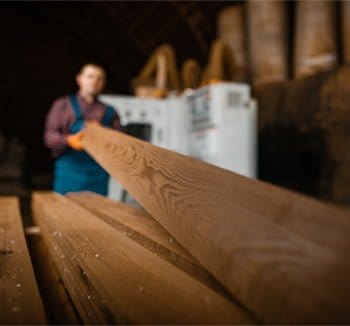
Also, know that the wood should ideally have a straight grain that runs along its length.
Wood withstands load the best when it goes perpendicular to the grain. In other words, the wood’s grain should run along its length.
If you can’t find lumber made from these woods, then it’s not a big problem. Any hardwood should work decently for gymnastic bars. However, try to find stronger lumber to ensure longevity and security while working out.
Fortunately, pine lumber is pretty easy to find, so you shouldn’t have problems with finding strong wood.
How To Build A Gymnastics Bar Step-By-Step
1. Building the legs
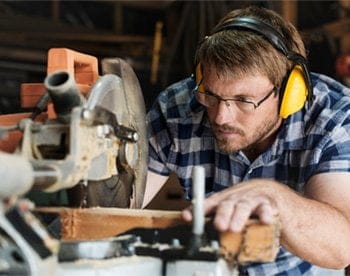
Cut each of the 12 feet 2x4s into half with a handsaw or circular saw. Be sure to make straight cuts so that the ends are flush with each other.
Then, take two cut 6 feet boards and put them on top of each other so that you get a 4×4 piece of lumber. Use wood glue and screws to fix them together. Do the same with the other 6 feet pair of wood.
By the end of this step, you will have two 6 feet 4×4 boards that will serve as the gymnastic bar’s legs.
2. Cutting the feet
Cut each of the 10 feet, 2×4 boards, into half, just like you did with the 12 feet pieces. The resulting 5 feet boards will be used to make the base for the legs.
3. Building the crossbars
Take the 8 feet 2x4s into 3 feet pieces. You will be left with four 3 feet boards and two 2 feet scrap pieces.
Saw the ends of the wood to a 45-degree angle. If you have a miter saw, this cut should be very easy.
Be mindful that after you make the cut, the ends should not be parallel to each other. Rather, the wood should be shaped like a trapezoid.
At the end of the step, you will have crossbars that can be placed between the legs and the feet at a 45-degree angle.
4. Attaching the legs to the feet
Lay the 6 feet 4×4 legs down on the floor so they are horizontal. Then, center the 5 feet 2x4s with the legs and clamp them together. Drive at least 3-inch wood screws through the 5 feet boards into the bottom of the 6 feet legs.
At the end of this step, you will have reverse T-shaped legs.
5. Drills holes for the long bar
To drill holes for the long bar in the proper spot, you will need to measure the chest height of the gymnast who will be using the bar.
For an accurate measurement, the gymnast should stand up straight with their shoulders and heels against a wall.
Measure the distance from the floor to the center of the chest or the top of the armpit.
Then, you will need to find the right spot on the legs you’ve built in step 4.
Place the legs upright and measure from the floor to find where the holes should be drilled.
Then, since you will probably have a gymnastics mat beneath the bar, you should also add the thickness of the gymnastics mat to the chest height. If the mat is 4 inches thick, then the right spot for the holes will be 4 inches above your chest height.
Then, mark the location of the holes in the center of the vertical legs at the measured height.
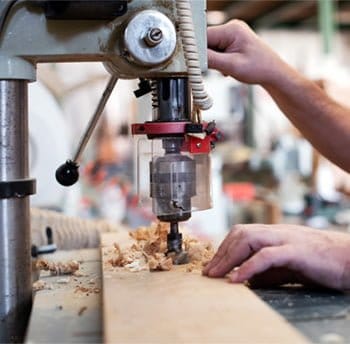
Once you’ve marked the drill holes, drill a 1-1/8-inch hole through the face of the 6 feet 4x4s. This can be done with a hole saw attachment.
6. Mounting the crossbars
Attach the mitered 3 feet 2x4s to either side of the vertical bar. One end of the mitered crossbars should be resting on the vertical bars, while the other should be on top of the 5 feet base boards.
To fix the crossbars in place, drive 2 screws through each end of the bar into the base and vertical legs.
7. Attaching the bar
If you are using a wood bar, fit the bar through the 1-1/8-inch holes you’ve made in the vertical bars in step 5. Then, you may drive screws through the vertical bars into the installed bar for added support.
If you are using a steel bar, things are a little more difficult:
- Thread a coupler on each end of the steel bar.
- Thread the 4-inch bars to each coupler’s end. Add a washer on top.
- Fit the bar through the holes.
- Add another wash on each side.
- Thread the remaining two couplers on each side of the bar.
8. Attach crossbars between the feet.
For added security, you should add crossbars in between the feet to form a rectangular frame at the base.
To make crossbars, measure the width between the feet of the gymnastics bar. Cut the remaining 8 feet 2×4 board into pieces that will fit between the feet.
Place the cut 2×4 pieces at the back and front to form a rectangular base. And lastly, drive 3-inch screws through the feet into the crossbars to fix them in place.
Things To Keep In Mind When Making A DIY Gymnastic Bar
Do not use a wobbly gymnastic bar
If your homemade gymnastics bar ends up wobbly, then avoid using it. If you can, then reinforce it with more screws and see whether this resolves the wobbliness. If not, then maybe you’ve used bad materials that aren’t sufficiently sturdy.
You may pick other lumber sizes
The lumber sizes given by us are just for your reference. You don’t necessarily need to stick to them.
Feel free to pick longer or thicker boards. But don’t go the other way around – thinner or shorter – since you will be compromising durability and stability.
A DIY gym bar isn’t best for complex tricks
Please do keep in mind that a DIY gymnastic bar, no matter how sophisticated, is not suitable for complex tricks like spins, swings, or flips.

DIY gym bars will not have the whip and traction of real gymnastic bars, not to mention that commercially-made bars can be much more durable.
Reserve a gymnastic bar for simple movements like candlesticks or chin-ups.
Supervise your kid at all times while training
When your kid is straining, be sure to keep an eye on them at all times. This is to ensure that your child has proper form and to keep them away from accidents. If you don’t know what to do, ask your kid’s coach what you should be paying attention to.
How To Make a Gymnastics Bar – Final Words
As you can see, building a homemade gymnastics bar is pretty easy as long as you have the basic tool and the materials required.
However, please remember that a DIY gymnastic bar won’t be equivalent to a commercially-made bar in terms of convenience, durability, and safety.
If possible, strongly consider going for a ready-made gymnastics bar. Although pricey, such a gymnastic bar would most likely be a better long-term solution for home training.


